PayTabs SDK makes the integration with the PayTabs payment gateway very easy by providing a ready-made payment screen that handles the card entry, and billing & shipping information and completes the missing details.
In this article you will be going to know about:
How to upgrade the SDK?
You can upgrade your existing SDK using several ways as shown below:
For the version number, please use the latest version according to our latest update on our repository
CocoaPods
CocoaPods is a dependency manager for Cocoa projects. For usage and installation instructions, visit their website. To upgrade the PayTabs SDK that has been built in your Xcode project using CocoaPods, specify it in your Podfile with the new SDK version you wanted to upgrade to:
pod 'PayTabsSDK', '~> X.X.XX'
Then after that, you can just run the following command in the project directory
pod install
Carthage
Carthage is a decentralized dependency manager that builds your dependencies and provides you with binary frameworks. To upgrade PayTabs SDK that has been built in your Xcode project using Carthage, specify it in your Cartfile:
github "paytabscom/paytabs-ios-library-sample" ~> X.X.XX
Then after that, you can just run the following command, then after this add the newly installed framework to your XCode instead of the old one:
carthage update
Manual
To upgrade the SDK manually, simply follow the below steps:
- Download the new framework.
- Navigate to
Generalsection of yourTarget. - Select the old
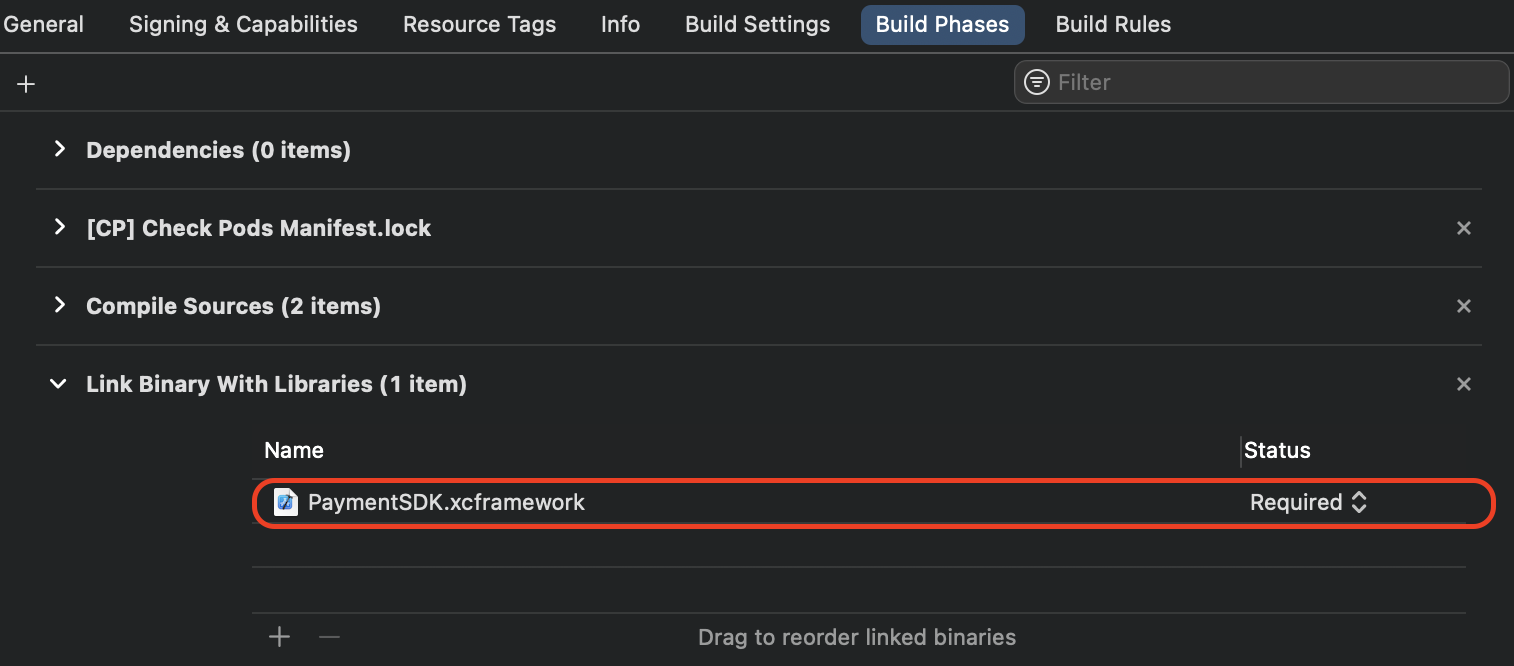
PaymentSDK.xcframeworkfile and press the "Delete" button from your keyboard to delete it first. - Then finally, drag
PaymentSDK.xcframeworkfile toFrameworks, Libraries, and Embedded Contentsection.
⌂ To get familiar with the whole process and the other steps, kindly navigate to our "The Native IOS SDK Integration Manual" solution article.

⇦ And to get familiar with the rest of the steps regarding the current step "Step 1 - Setup and activate the integration method " click here.

⇨ Or you can navigate to the next step in the process "Step 2 - Configure the integration method" kindly click here.
Was this article helpful?
That’s Great!
Thank you for your feedback
Sorry! We couldn't be helpful
Thank you for your feedback
Feedback sent
We appreciate your effort and will try to fix the article