This solution article provides a comprehensive step-by-step guide for managing table reservations within your business, with a quick video tutorial for each section. It covers essential functionalities, including how to enable or disable the table reservation feature, view existing reservations, and cancel reservations as needed.
In this article you will learn:
Enable/Disable Table Reservations
- Depending on your business and if you want to allow the Table reservation option to your client or not, you can either activate or deactivate this option by navigating to: Online Tab >Bookings
- If you want to allow reservations, make sure that the Bookings button is On, and turn it off if you don't want to have this option.

- If you go offline, customers will not be able to make new reservations until you go back online

A video Tutorial:
Check out our video tutorial on How to Enable /Disable Table Reservations:
Discover how your customers can book a table by checking out this article: Reserve a Table via TAPn'GOView your Reservations
- In the Admin Panel, click on Reservations


A video Tutorial:
Check out our video tutorial on How to View All Table Reservations:
Cancel Reservations
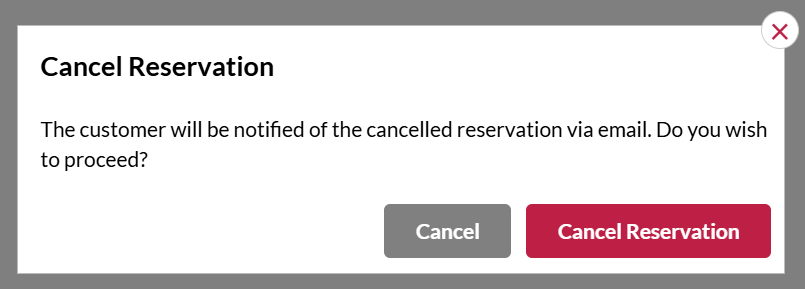
- To cancel a confirmed reservation for any reason, navigate to your "Reservations" section from the admin panel, navigate to the reservation from Today, Tomorrow, and Future tabs according to the time of this reservation, click on the "Cancel Reservation" button displayed at the bottom of each reservation.


A video Tutorial:
Check out our video tutorial on How to Cancel A Table Reservation:

