In this article, we will guide you through the Teams Menu in the PayTabs Merchant Mobile App. This menu allows you to efficiently manage your team by viewing and editing user information, adding new members, and understanding roles and permissions. With these features, you can ensure your team operates smoothly and effectively.
To know more about the Teams menu inside PayTabs Merchant Dashboard, check out the Team Menu Via Merchant Dashboard solution article.
In this article, you will get to know about:
Add/Invite a New Team Member
- From the Home screen, on the top left corner, click on the side menu icon"≡".
- Then click on the "Teams" Menu item and you will be redirected to the "Teams" Screen.
|  | 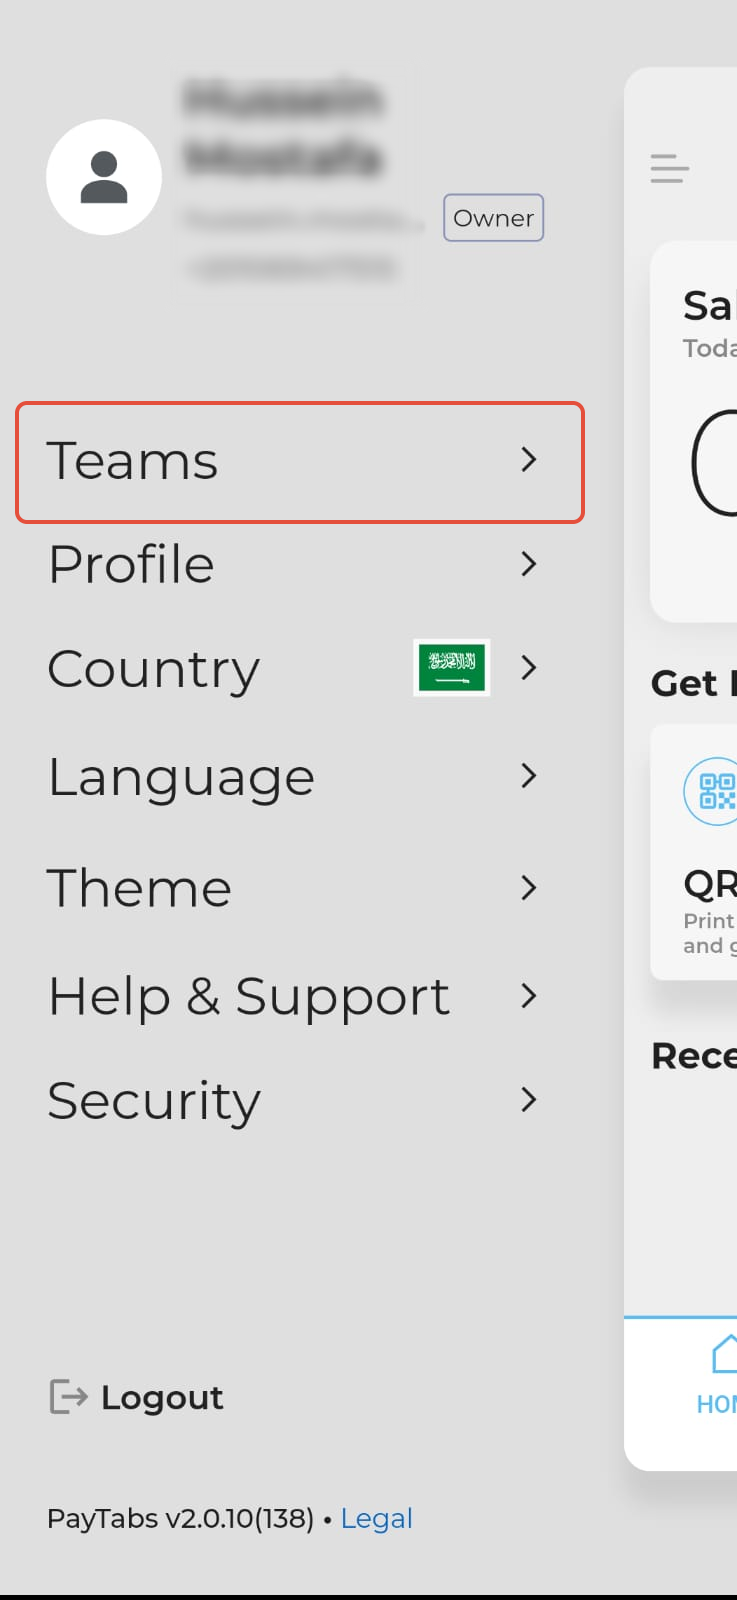 |
- In the team's screen, you will be able to see a "+" at the top right corner, click on it to add a new user to your team.
- Then, you will be redirected to the "Add New Team member" screen where you will be able to fill in the new team member details.
|
 |
|
|
|
|
- The next action is for you to start filling in the details as clarified below:
NAME
| The member's name
| EMAIL
| Valid Email of the member
| PHONE
| Valid Phone Number
| POSITION
| Position of the member in your company
| ROLE
| The Role in PayTabs accounts can vary between: Owner, Developer, Finance, Customer Support and Manager).
To know more about these roles, kindly click here.
| PROFILE
| A list of your current profiles will be shown so you can choose if you want to provide this member access to all profiles or only specific profiles.
|
- Then, you will be required to choose the exact options (Permissions) you want to give to this member by enabling them in the "Team Member Options" section.
- Finally, you will need to click on the "Add" button at the bottom of the screen and an invitation will be sent to the Email specified in the Member details.
- Once the member accepts the invitation, you will be able to view his details from the Teams Menu screen from the first step.
|
Add the team member's detail &Role.

Choose the options you want to enable for this member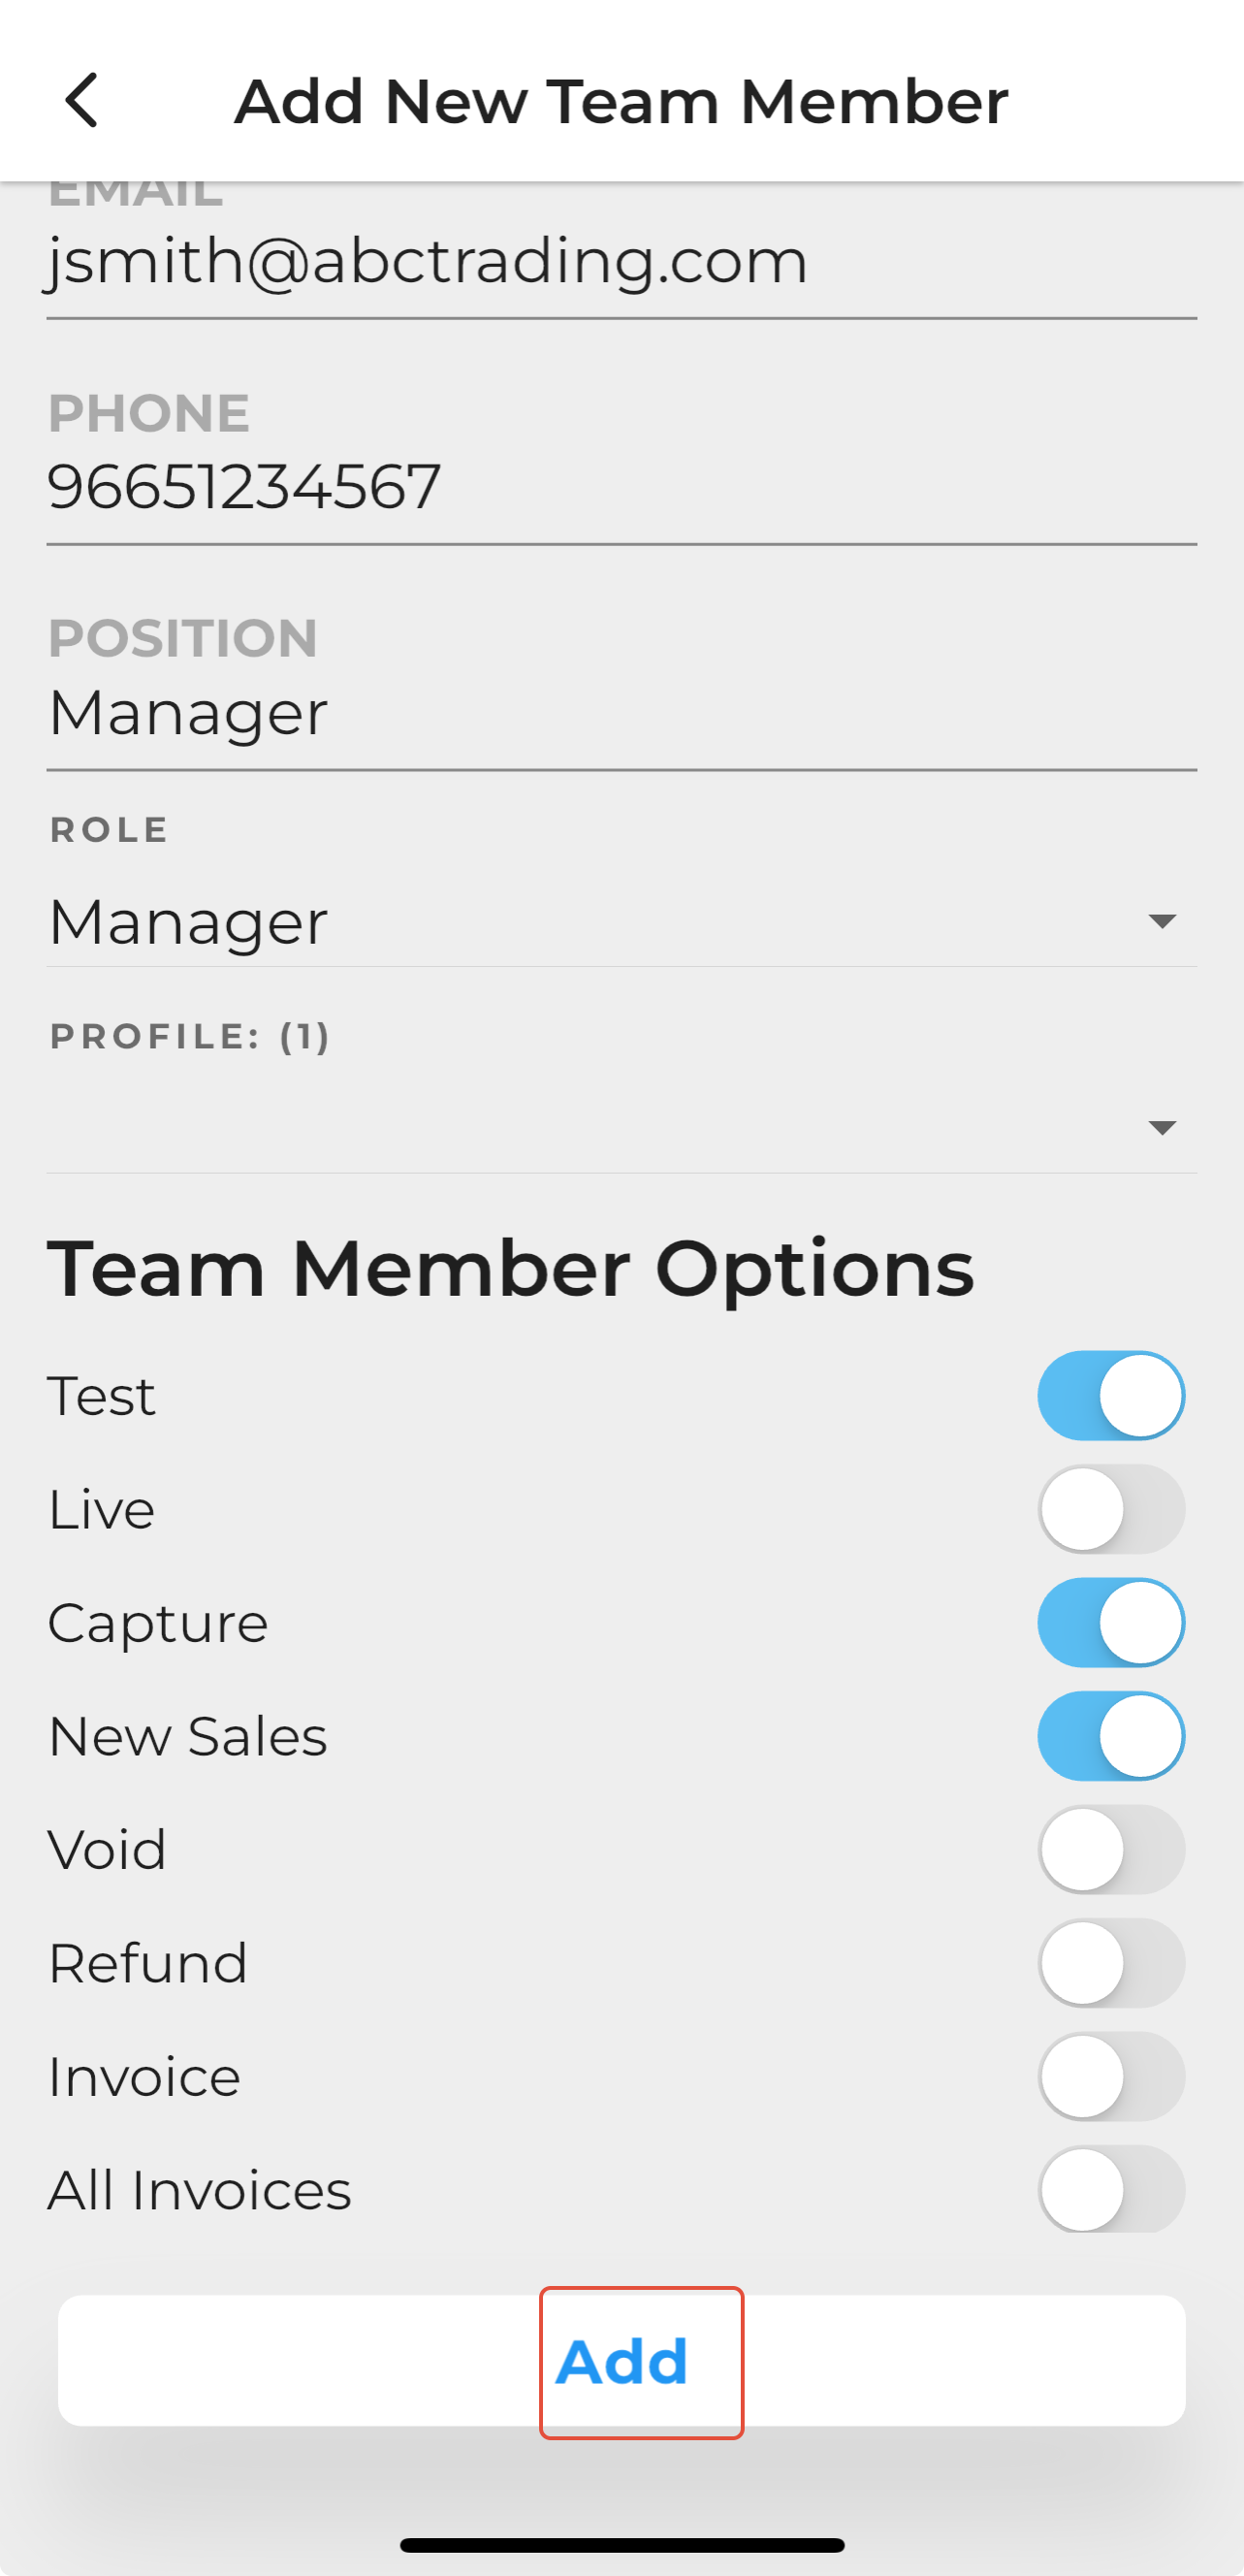
|
Select the profile(s) to grant this member access.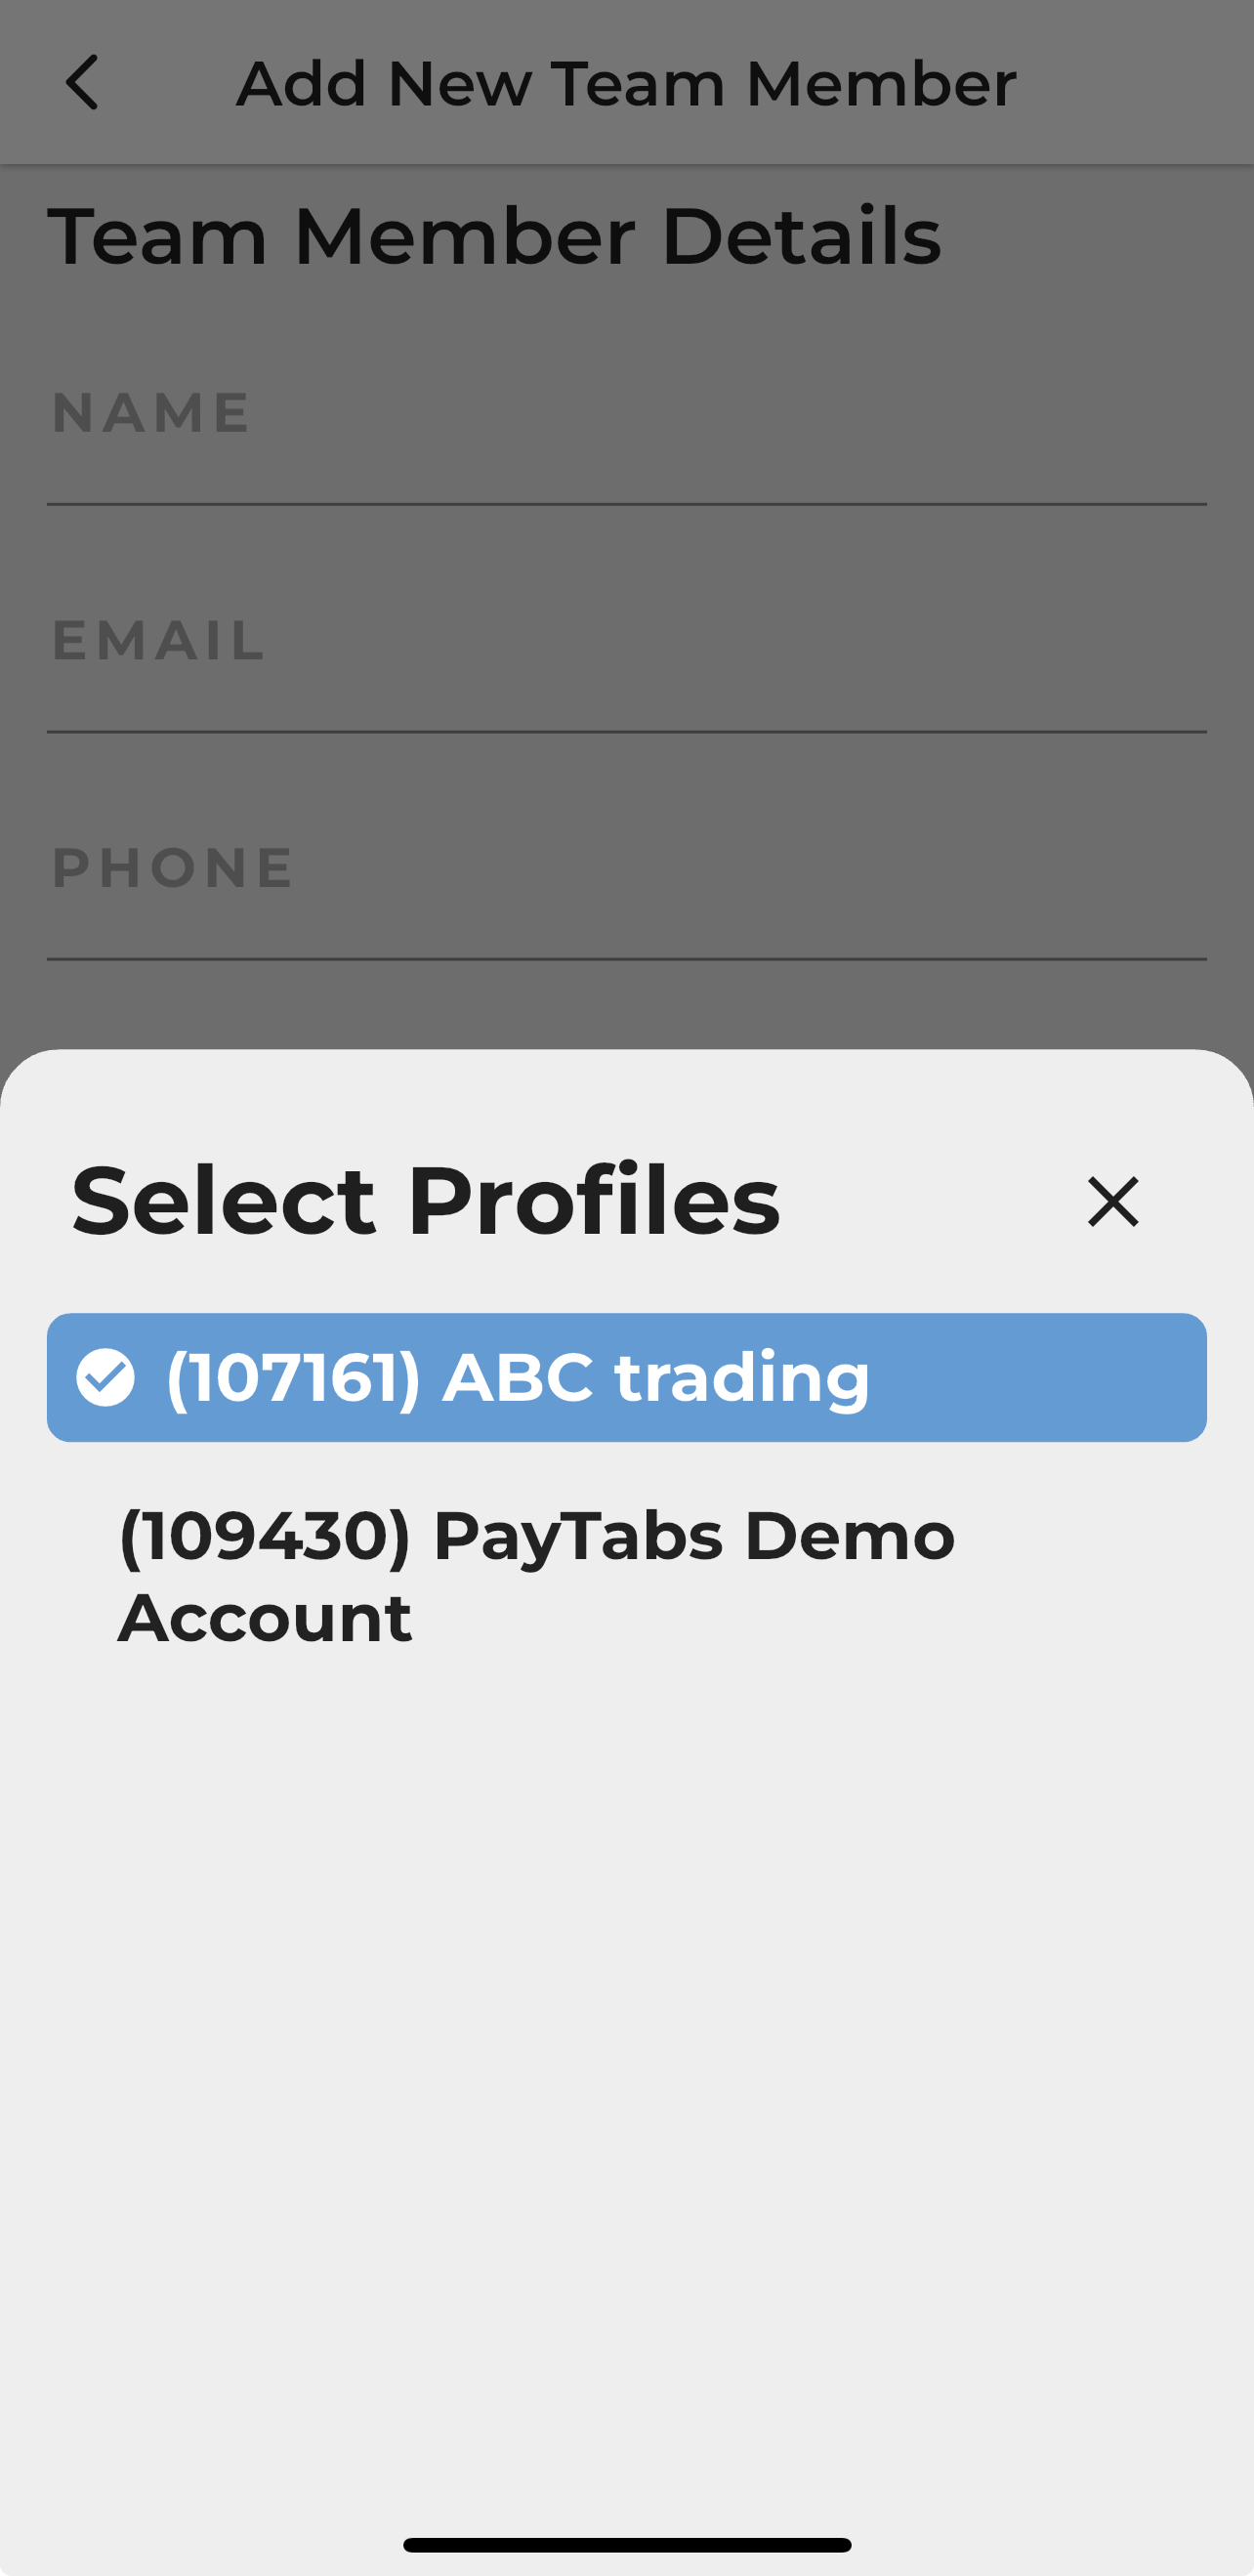
|
View Your Users
- From the Home screen, on the top left corner, click on the side menu icon "≡".
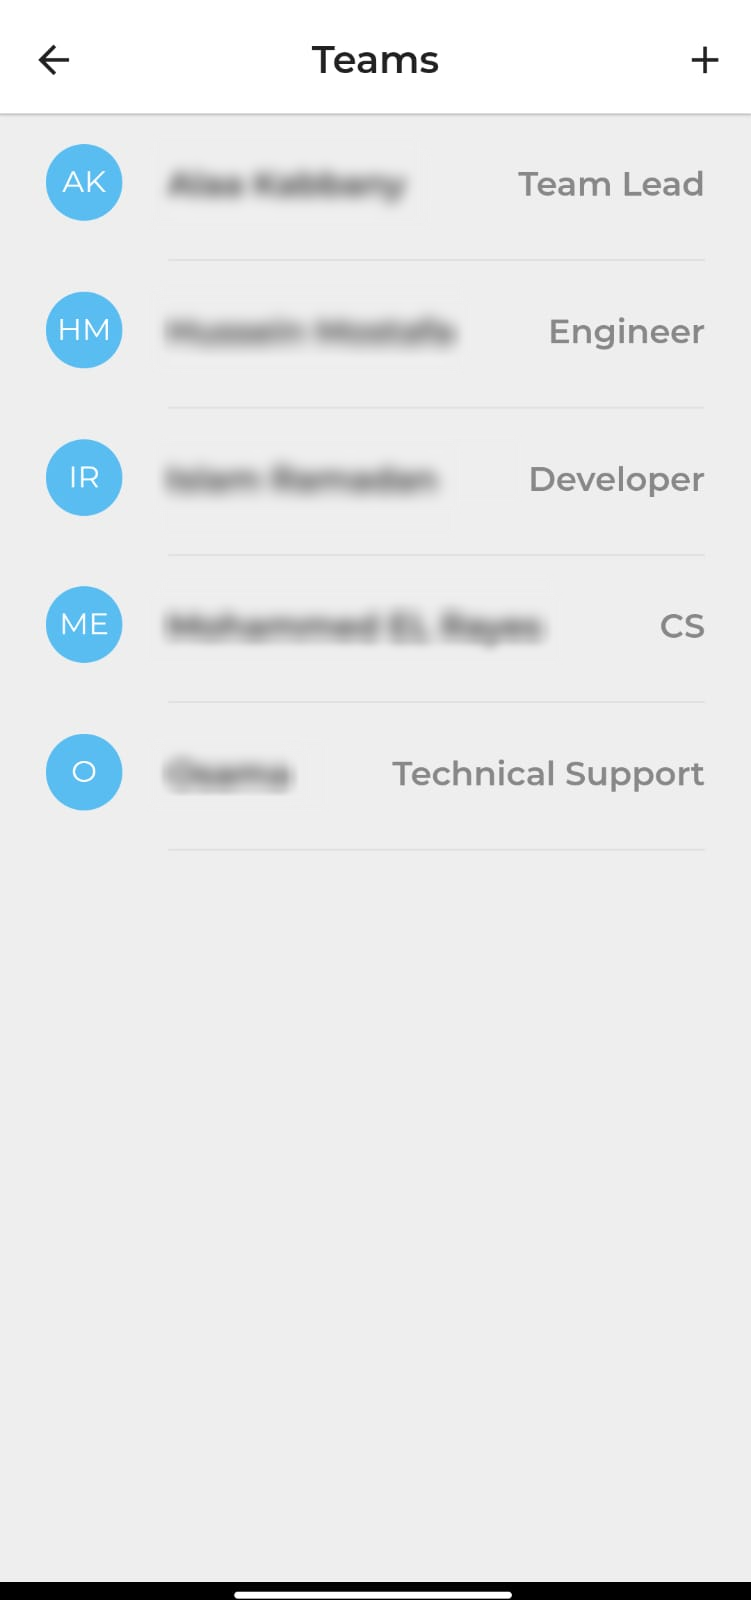
- Once the side menu is displayed, click on the "Teams" Menu Item and you will be redirected to the Teams Screen.
| | |
- In the team's screen, you will be able to see all your team members along with their positions.
- If you want to see the full member details for any specific user, you can simply click on it, and you will be redirected to this member details screen.
|
 | |
Edit User's Details/Permissions
- From the Home screen, on the top left corner, click on the side menu icon "≡".
- Once the side menu is displayed, click on the "Teams" Menu Item and you will be redirected to the Teams Screen.
| | |
- Next, you need to click on the exact member to edit his details, and then you will be redirected to this member details screen.
- In this screen, you will be able to see a pen icon at the top right, you need to click on it to start editing this member.
| | |
- Finally, once you apply the necessary changes /edits for this user, click on the "Save" button at the bottom of the screen, and the user will be updated immediately.
|  |
|
Users can only view team members who have the same or lower access level.
For example, a user assigned to the Customer Support role will not be able to see another team member with the Manager role within the same merchant account.


