In this article, we will guide you through the Invoices Menu in the PayTabs Merchant Mobile App. This menu provides essential features to help you manage your invoices efficiently. You can create new invoices, view existing ones, edit invoice details, and share invoices with ease. These tools are designed to streamline your invoicing process, ensuring smooth and effective financial operations for your business.
To know more about creating and managing the Invoices inside PayTabs Merchant Dashboard, you may need to check out our Invoices Menu via PayTabs Dashboard solution article.
In this article, you will get to know about:
How to Create a New Invoice?
- From the Home screen, navigate to the "Get Paid" section, then click on the "Invoice" box.
- Next, you will be redirected to the "Invoice" screen where you will be able to view all your Invoices.
- To create a new invoice, click on the "+" at the top right corner,
|  |  |
- Then, fill out the invoice details across four sections that will be clarified below in detail, you should fill these details in each screen and then click on "Next" to move to the next section until you reach the "Review" section.
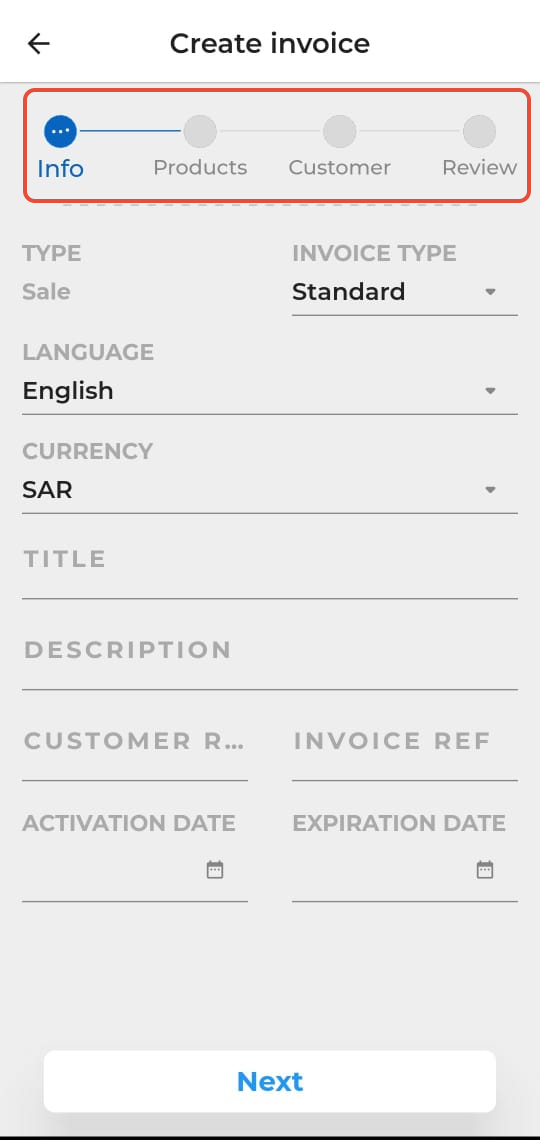
- Info: here you will be filling out the basic information for your Invoice, clarified below all the fields:
| INVOICE TYPE | Standard: it's a single invoice. The link will expire once a customer completes this payment.
Template: It will generate a link, and you can share this link with your customer via any source (message/WhatsApp/email, copy/paste), and the same link will remain open to re-use anytime. (you can also control the expiration date while making the template) | | Language | Select the Invoice display language "English" or "Arabic". | | CURRENCY | Select the currency you want for this Invoice. You will be able to choose from a list of the configured currencies in your profile. | | TITLE | Here, you’ll choose a title for your invoice to make it easy for you to recognize later. | | DESCRIPTION | Here, you can describe your invoice, detailing what it’s for.
| | Customer/Invoice Ref | These are the invoice labels that can be customized in your PayTabs profile.
Check this link: Customize your invoice | | ACTIVATION DATE | Here, you will be specifying the exact date you want this Invoice to be active. NOTE, the customers will not be able to use the invoice before this date. | | EXPIRATION DATE | Here, you will be specifying the exact date you want this Invoice to expire. NOTE, the customers will not be able to use the invoice after this date.
|
|
|
|
Choose the Invoice Type Choose the Activation/Expiration Date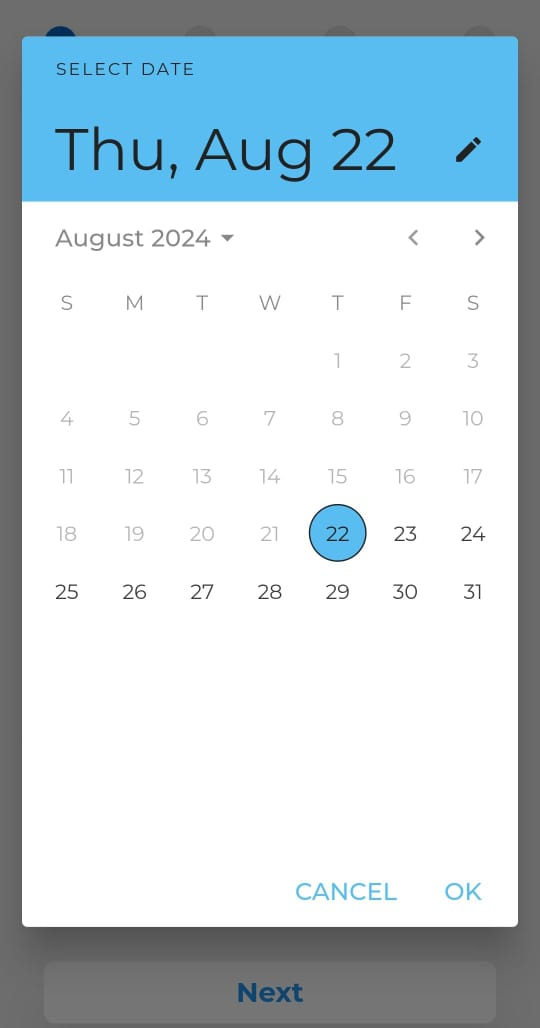 |
- Products: In this section, you can add the products you want to include in the invoice along with their details. There’s an "Add Product" button that you can click to introduce a new product, and then you’ll need to provide the necessary information for that product as detailed below:
| SKU | Refers to a stock-keeping unit, and this is a value determined by you to identify this product | | DESCRIPTION | Here, you should provide a brief description of this product. | | UNIT PRICE | This field MUST include the product price before applying any discount or tax amount to it. | | QUANTITY | Here, you will specify the quantity you need to add of this invoice. Keep in mind that the final amount will be resulted from multiplying the quantity with the unit price and applying the discount and tax specified below.
| | DISCOUNT (optional) | Here, you can specify a discount amount that you want to apply to the final amount. | | VAT/TAX | This field allows you to determine a VAT/TAX amount or percentage that you can apply to the final product amount. You can enable the Percentage box to make it a percentage. |
| 
Fill out the product details
 |
Select the products you want to add to your invoice.
 |
-Once you complete all the product details clarified above, You MUST click on the "Save" button at the bottom of the "Add Product" screen, so that you can either add another product or select the products you want to add to the invoice and move forward to the next section.
|
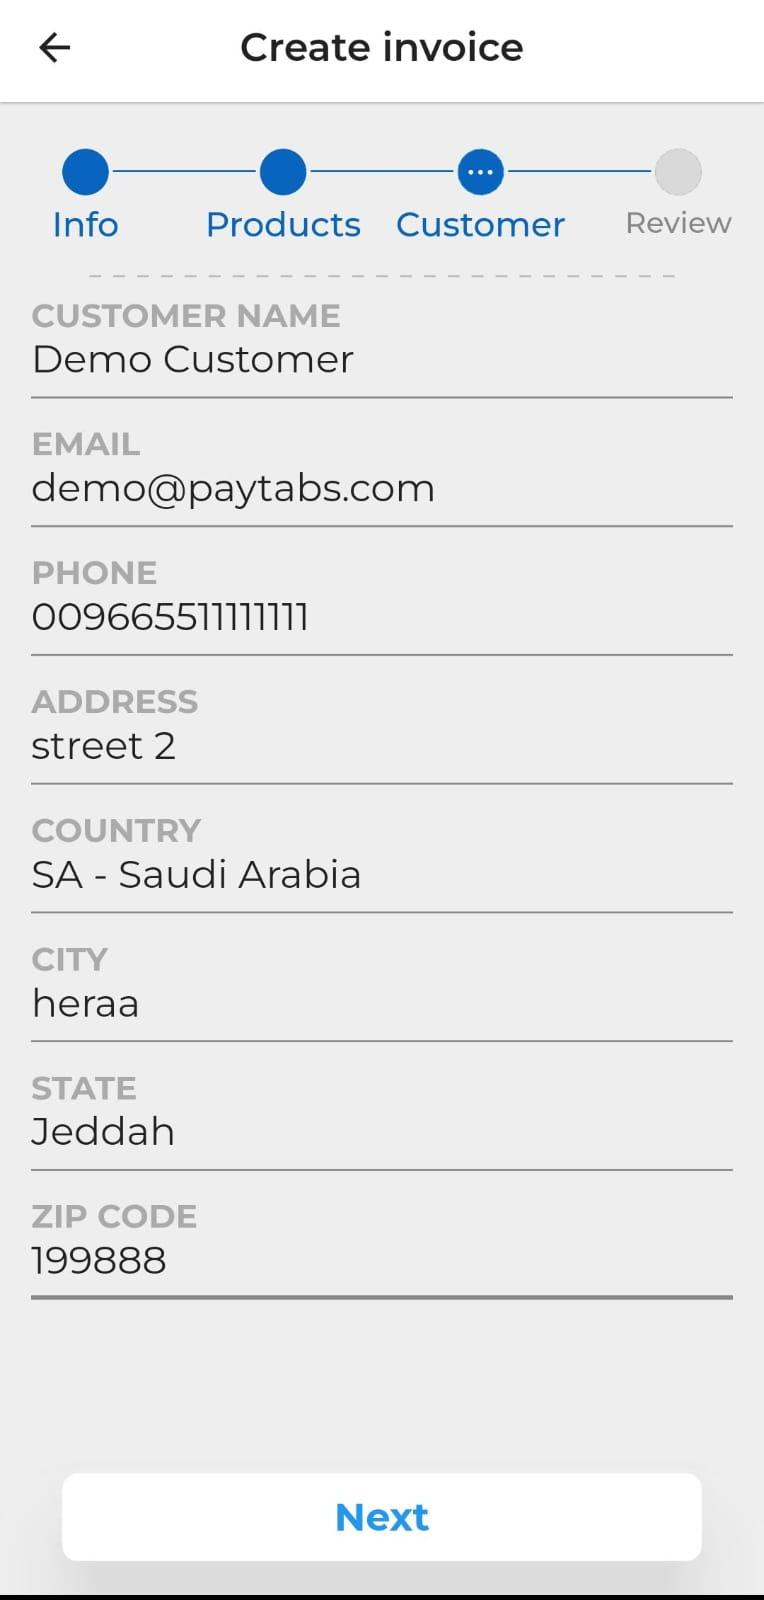
- Customer: In this part, you can add the customer's details which is completely optional. However, if you do fill it out, your customer won’t have to enter this info again. Check out the customer details explained below:
| CUSTOMER NAME | Your customer's name | | EMAIL | Valid Email for your customer | | PHONE | Valid phone number for your customer | | ADDRESS | The customer-specific address | | COUNTRY | Your customer country | | STATE | The exact customer state | | ZIP CODE | The ZIP code for that address |
|  |  |
-After filling in the details, you should click on the "Next" button to move forward to the next section.
|
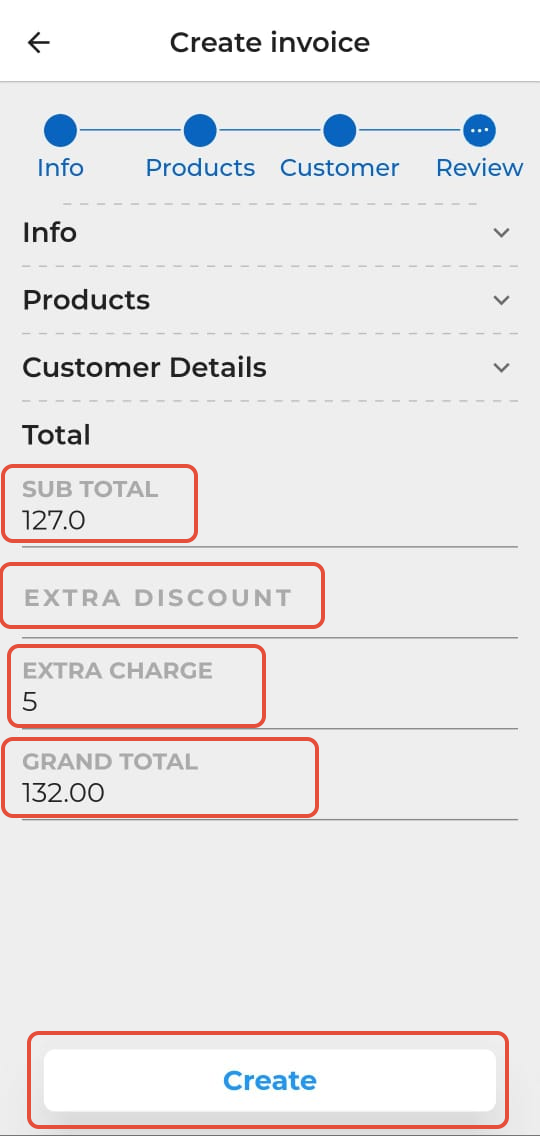
- Review: Here is the final step where you can review the invoice details before you hit "Create"
You can review all the details by expanding the related section, and once you finish you will have the option to:
-view the SUB TOTAL of the Invoice amount and
-you can add an EXTRA DISCOUNT/CHARGE to the total (Optional)
then create your Invoice by clicking on the "Create" button at the end of the screen.
Note: the "GRAND TOTAL" is the actual amount the customer will pay.
|  |  |
- Reaching this part, your invoice will be ready to be shared with your customers easily, and once shared, your customer will be able to view it and pay it normally.
|  | 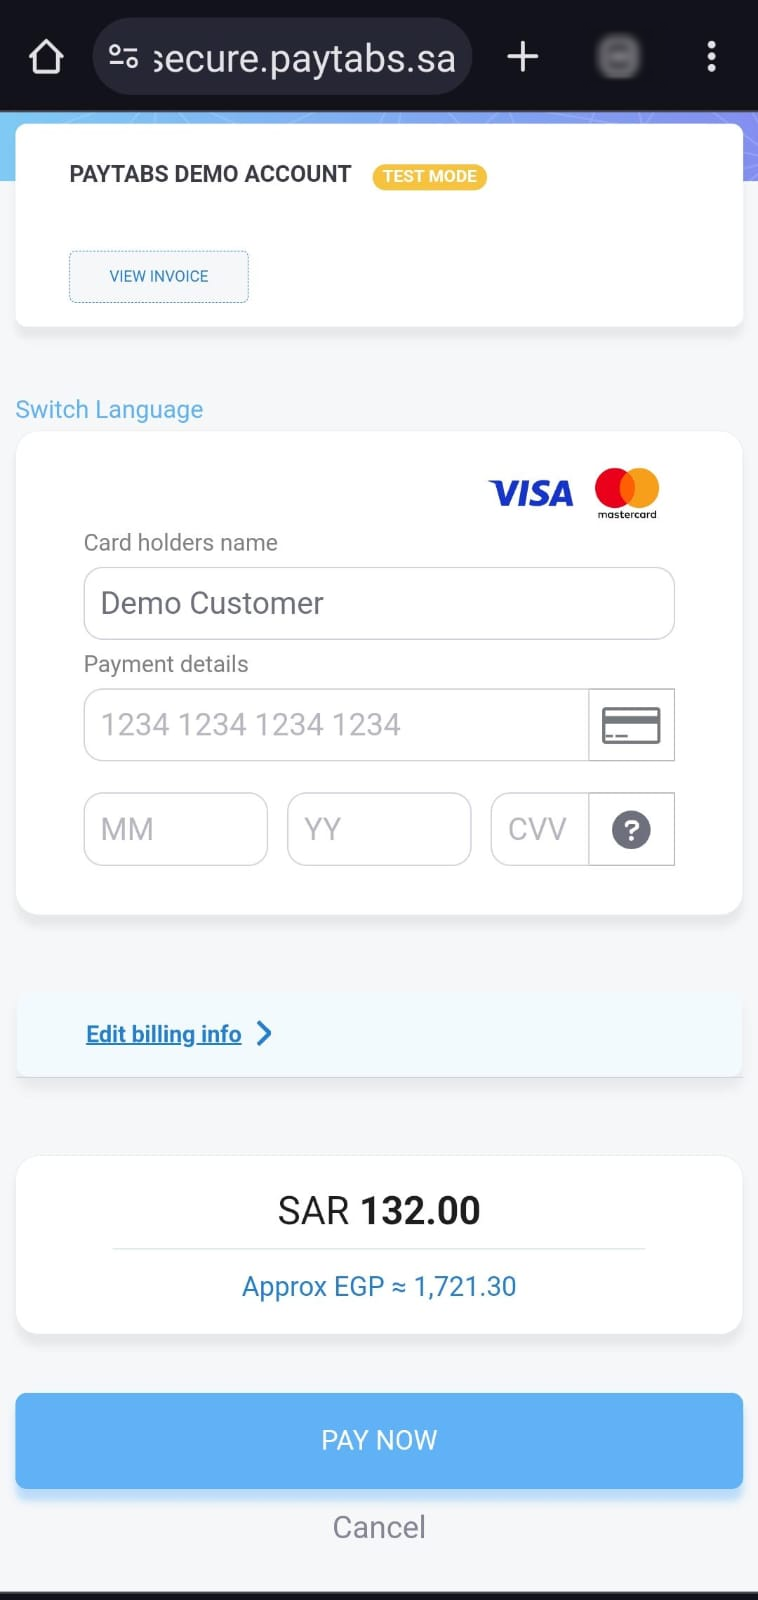 |
How to View Your Existing Invoices?
- From the Home screen, navigate to the "Get Paid" section, then click on the "Invoice" box.
- Next, you will be redirected to the "Invoice" screen where you will be able to view all your Invoices.
- Here, you can view the Invoice title along with its amount, type, and status.
Below you will find an explanation of the different possible statuses of the invoice:
Pending
| The invoice has been initiated and waiting for the customer to take an action "Pay" or "Cancel". | Paid
| The Invoice was shared with the customer, and it was paid successfully. | Cancelled
| The invoice has been canceled by the customer. | Overdue
| An invoice that has exceeded the expiry date, but the customer can still pay. | Expired
| Upon the expiration date, the status of the invoice will be updated to "Expired". |
| 
|
- Next, you can click on any Invoice to view the complete details of it, so once you click on it, you will be redirected to this screen.
- Through this screen, you will be able to edit and share this invoice which will clarified in the next section.
|  | |
How to Edit Your Invoices?
How to Share Your Invoices?


