PayTabs Dashboard's home page provides you with an overview of today's transactions, Today's Sales volume, and monthly sales volume in addition to an overview of your recent transactions.
It also provides you with easy access to the main features.
In this article you will learn about:
- Dashboard Home
- Dashboard Menu
- Environment
- Profile ID
- Profile name
- Change Language
- Switch between profiles
- Customer Support
- Notifications
- Account Details/Settings
Video Tutorial
Dashboard Home
The "Home dashboard" displays transactions ordered by the latest transaction date to provide insight into the performance of your business
The ‘Transactions Today’, ‘Sales Today’, and ‘Sales This Month ‘shortcuts show you statistics that navigate you to the "Transactions" Panel.

Dashboard Menu
The Home dashboard panel displays the home page of the account to access the different panels.

Environment
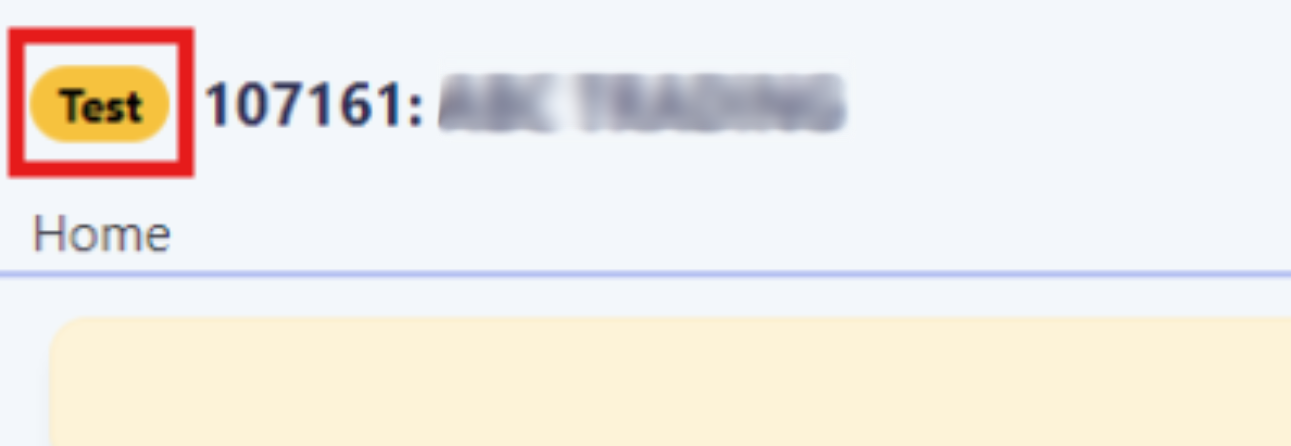
The current environment will be shown in the heading section (Test/Live).
To know more about test and live profiles you may want to check our "What is Test Profile vs Live profile?: PayTabs Support Portal" solution article.
To switch between your Test and Live profiles (or any other profile if you have multiple profiles),you can click on the profile ID and select the other profile
Profile ID
You can use this profile ID to refer to your profile in several things such as the integration methods and support tickets.

Profile name
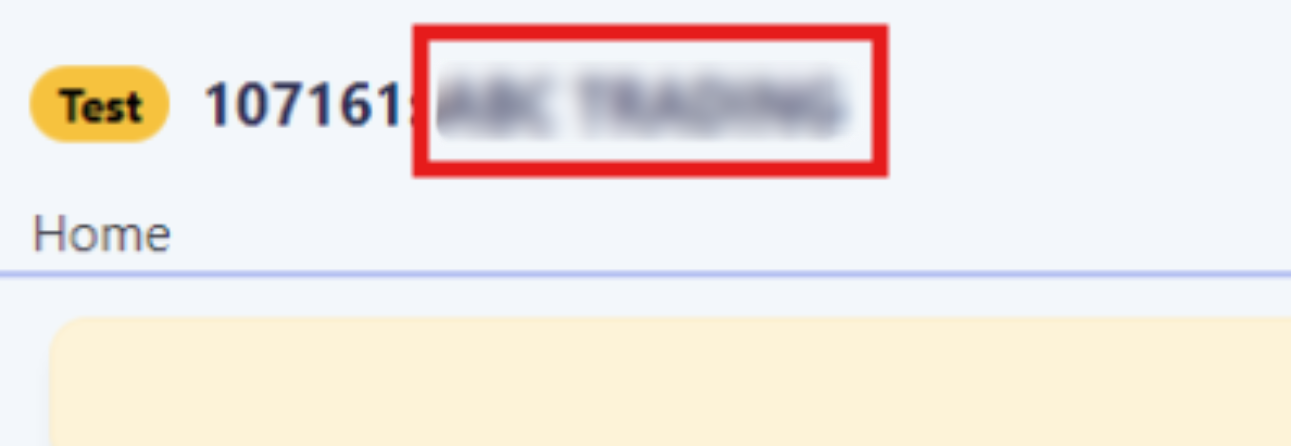
It refers to the name of the selected logged profile. This name will appear on the payment page and can be changed.
In case you need to change the profile name, please revert to your account manager.
Please check : How to customize the PayPage (Hosted Payment Page) UI? solution article,

Change Language


You can switch the dashboard language in your account from English to Arabic or vice versa by clicking on the change language button on the top right of the page.

Switch between profiles
You can change the current profile you are viewing by clicking on the “Change Profile” button, and then click on the desired Profile ID to switch
If you are not able to see this button and switch between profiles, this means that you only have access to one profile.


To know more about switching profiles, please check the How to differentiate and switch between Test and Live profiles. solution article.Customer Support
Our dashboard will provide you with easy access to the PayTabs customer support channel and the Knowledge/Solutions portal. Simply click on the question mark icon “? “and you will be redirected to our support portal where you can find answers to your basic inquiries.

Creating Support Tickets
From this portal, you can contact our support/customer care team by creating a new ticket

Once you fill in the ticket details along with your PayTabs account MID (Merchant ID) and click submit, a new ticket will be opened for you and one of our customer care agents will reply to you shortly.

If you don't know how to get your MID (Merchant ID), or PID (Profile ID) please check our How to get your account information from PT2 Dashboard? solution article.You can always check your ticket status from the same panel (the button beside the create new ticket one)Chatbot
You can also, use the chatbot to connect and chat with one of our customer care representatives directly.


PayTabs full solution Portal can be accessed via Support : PayTabs Support PortalPayTabs services Status Page
Using the same portal, you can access the PayTabs status page, which you can check/subscribe to and get notifications if there is any service update or disruption.

The status page can be also accessed via Status Page | PayTabs.

To know more about this please check : How to Know constantly what Paytabs Services' Status? solution article.
Notifications
You can view email notifications that are sent to you from our side regarding PayTabs' new updates and launches.

Account Details/Settings
You can view your account settings, and merchant details, along with the KYC documents that you can update later if needed.

To know more about what KYC are needed in your onboarding please check our Merchant's Onboarding Journey solution article.Login Details
You can check or edit your current login information, and you can enable the two-factor authentication feature to log in using Google authenticator.

To know more about How to activate "Two Factor Authentication" (2FA) On the PT2 Dashboard? solution article.Login Settings
- Language: You can change the language of the dashboard and the supported languages are (English, Arabic, and Turkish).
- Transaction list items per page: To allow you to extend the list of your transactions in the Transactions.
- Marketing: You can enable this option to receive promotional content and special offers via e
- Home page display: You can choose the default or analytics view, and this option is only supported on the Live profile.

- The default view: This view contains the heading, notes, analytics part, and the latest transactions.

- The analytics view: This view contains the payment status, such as percentages for declined and authorized transactions, the previous 7 days and last 8 hours of SALE transactions, and percentages of each payment method.

- The default view: This view contains the heading, notes, analytics part, and the latest transactions.
Was this article helpful?
That’s Great!
Thank you for your feedback
Sorry! We couldn't be helpful
Thank you for your feedback
Feedback sent
We appreciate your effort and will try to fix the article